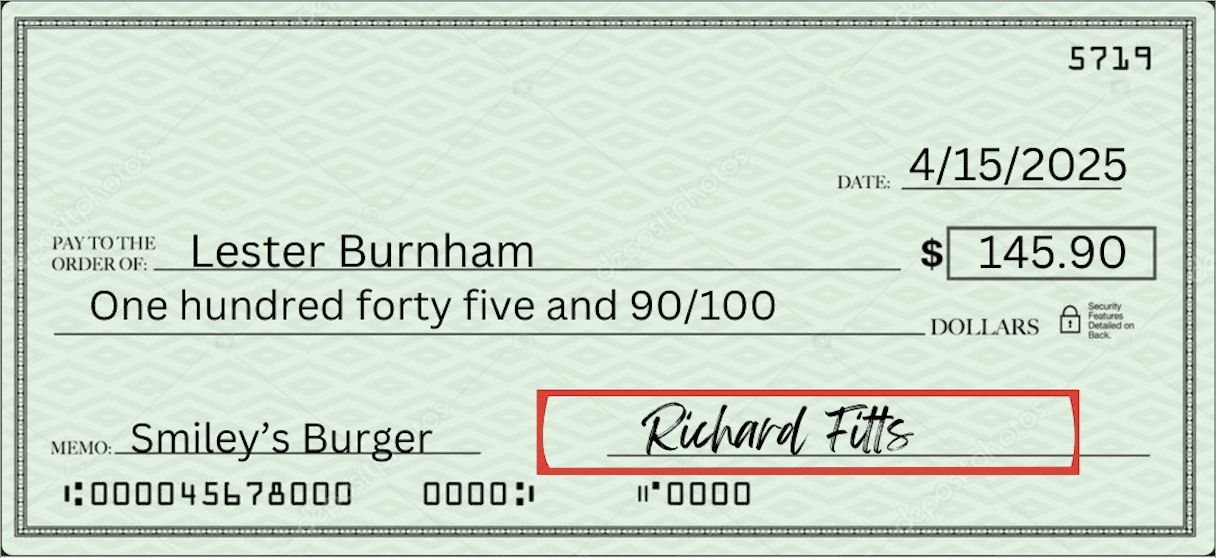
Want to know how to write a check? This post is all about how to write a check in 6 easy steps.
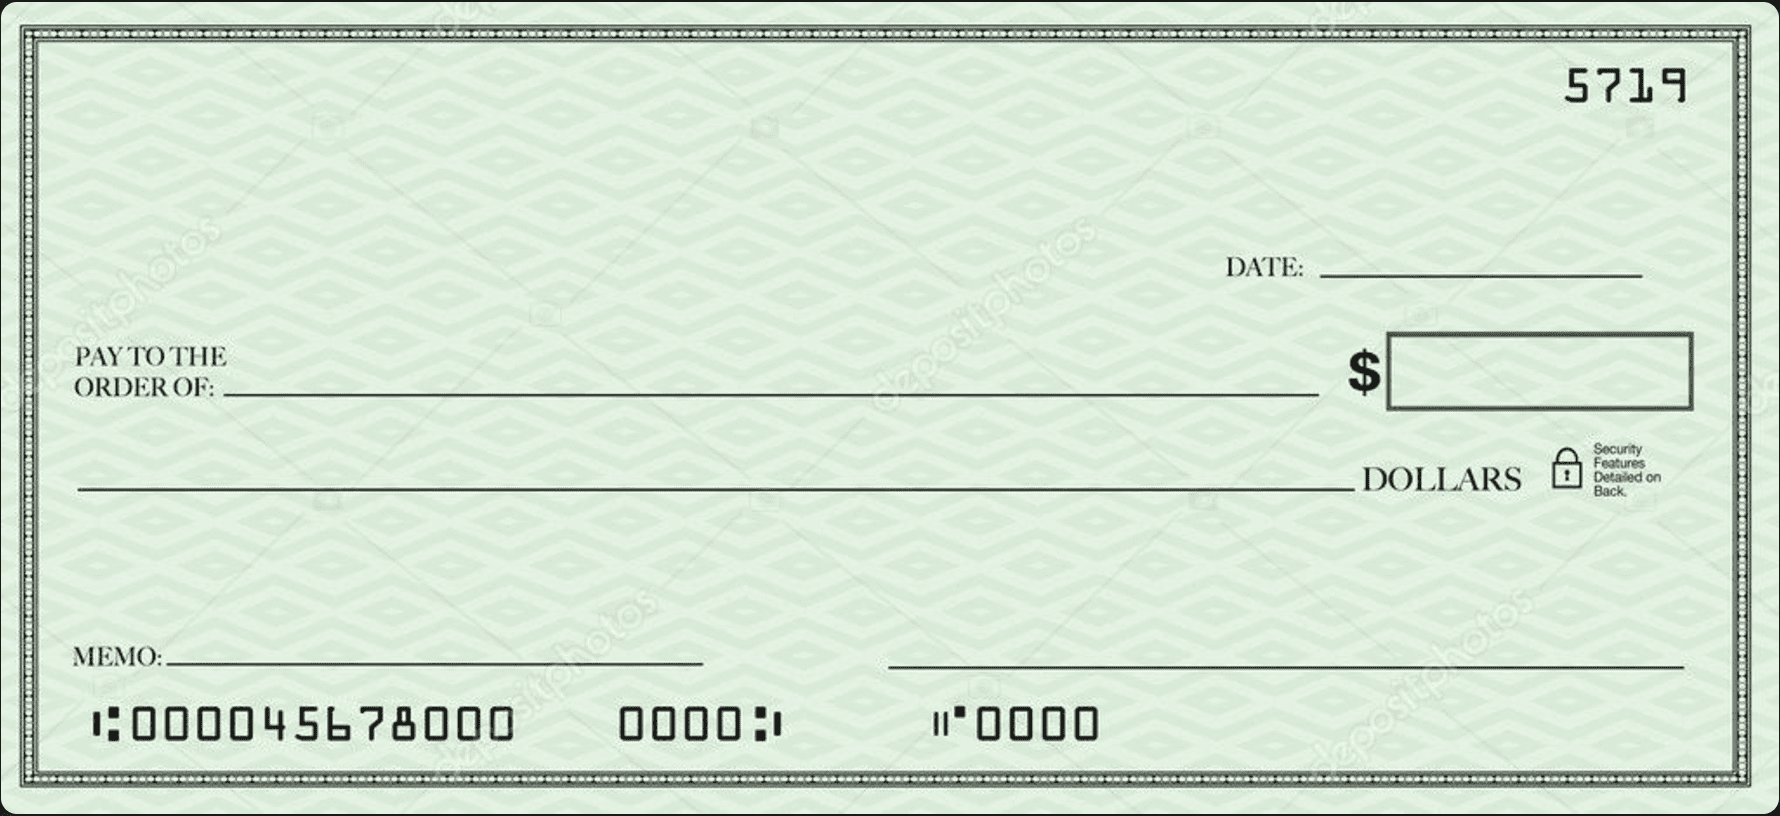
Writing a check for the first time? Or the second time but you're pretty sure you did it wrong the first time? For those of you wondering- How do you write a check? Have no fear. These 6 foolproof steps will walk you through exactly how to write a check (spoiler alert- it's not as complicated as you think!). Perhaps a near defunct skill with the emergence of Zelle, Venmo, and other electronic apps, knowing how to write a check will still be essential for most of us at some point. And to think it used to be done with a chisel and stone.
In this post, I will go through the exact steps needed to complete a check correctly with an example. It is a simple and straightforward process, and by the end of this article, I guarantee you will be feeling competent and old! You'll need a black or blue pen (not a pencil!), a blank check from your checkbook, and a can-do attitude! When you feel like quitting, remember why you started. Check out how to get a checkbook here.
This post is all how to write a check.
How to Write a Check in 6 Easy Steps
More posts you'll love...
STEP 1: Date the Check
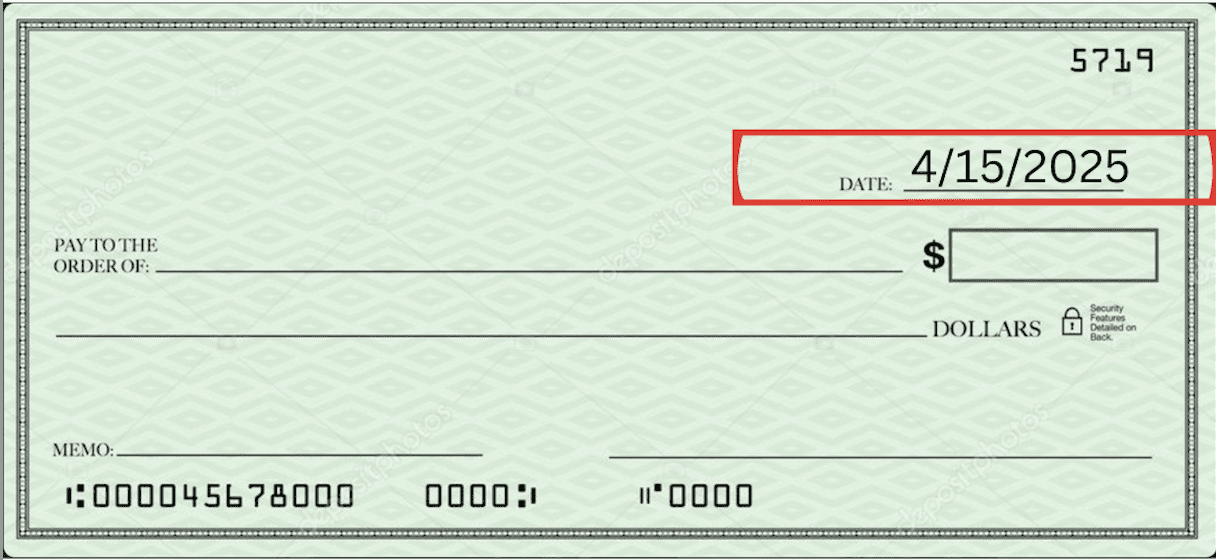
The first step in writing a check is to write the date in the upper right corner. This ensures that the bank and the person you're writing the check for will know when it was written. This is important as checks typically expire after 90-180 days, and the date you write will determine the expiration date. Dating the check is an essential step in how to write a check properly.
STEP 2: Who is the check for?
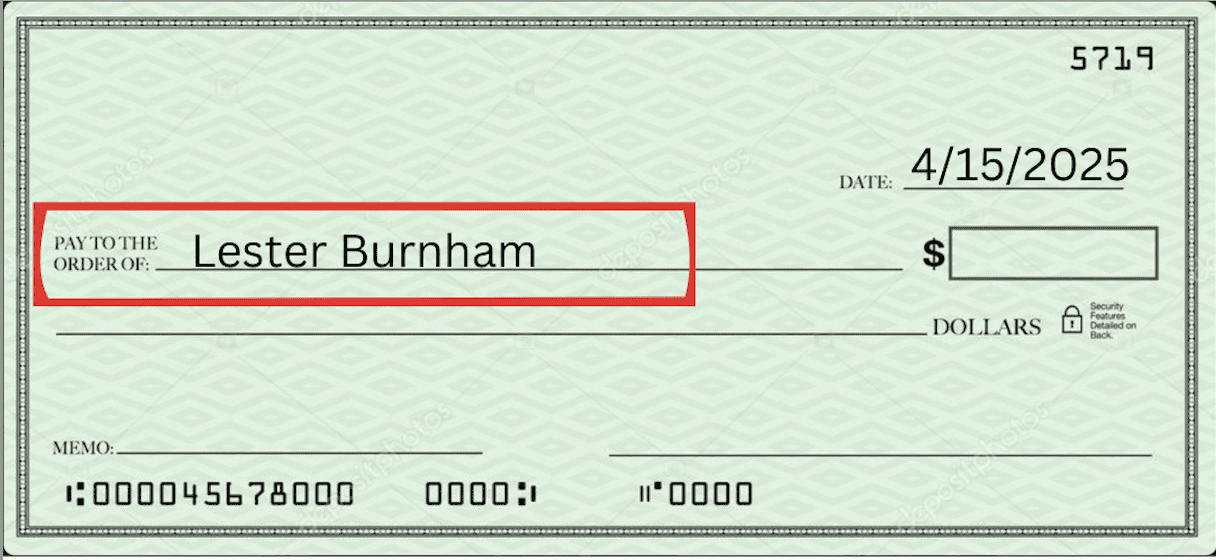
Now on to step 2! The next step in filling out a check is to complete the "pay to the order of" section of the check (see the left side of the check). To complete this part, simply write the full name of the person you are writing the check to OR the name of the company. I always double check with the company to make sure I have the official name correct. It is important not to skip this step as it ensures only the person you address the check to can deposit it. We don't need a Disney Original hit movie "Blank Check" situation on our hands (although the waterslide was epic). Make sure to write legibly and include their first and last name. Now it's time to move on to step 3 of how to write a check. Tip: Leave the second line right below blank, we'll need it later!
STEP 3: Write the Amount of Money
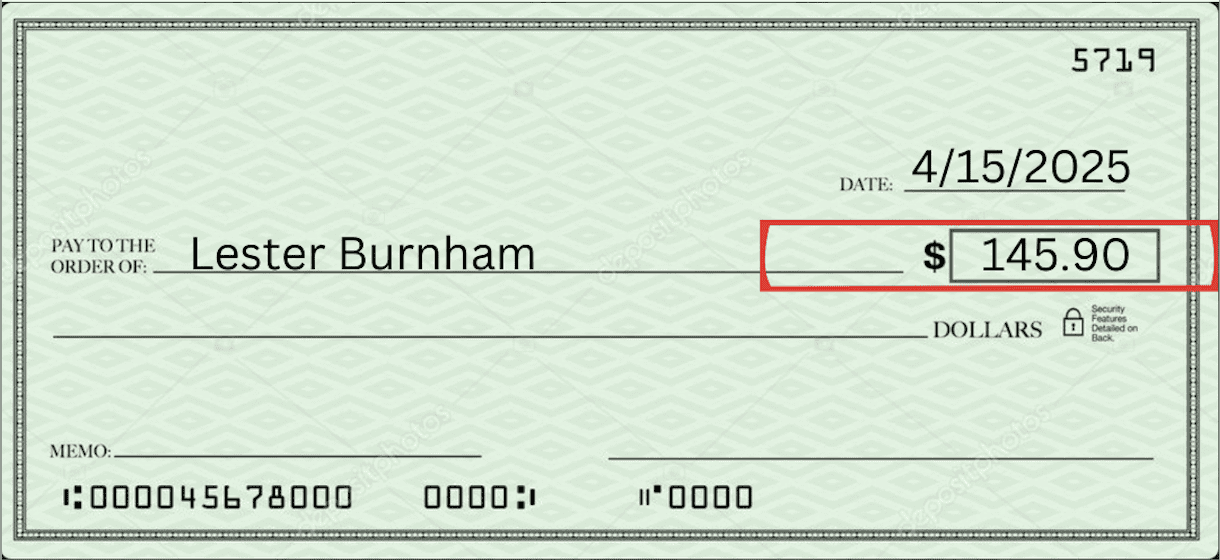
Moving right along, it's step 3. A simple one- write the amount of money the check is for in the format displayed below (with numbers). You write this immediately to the right of the "pay to the order of" portion you just completed. Make sure to include cents! And the dollar sign is already printed so no need to write one yourself. This is one of two places you will write the amount the check is for. You are almost done learning how to write a check! Just a few more simple steps.
STEP 4: Write the Amount of Money (in words!)
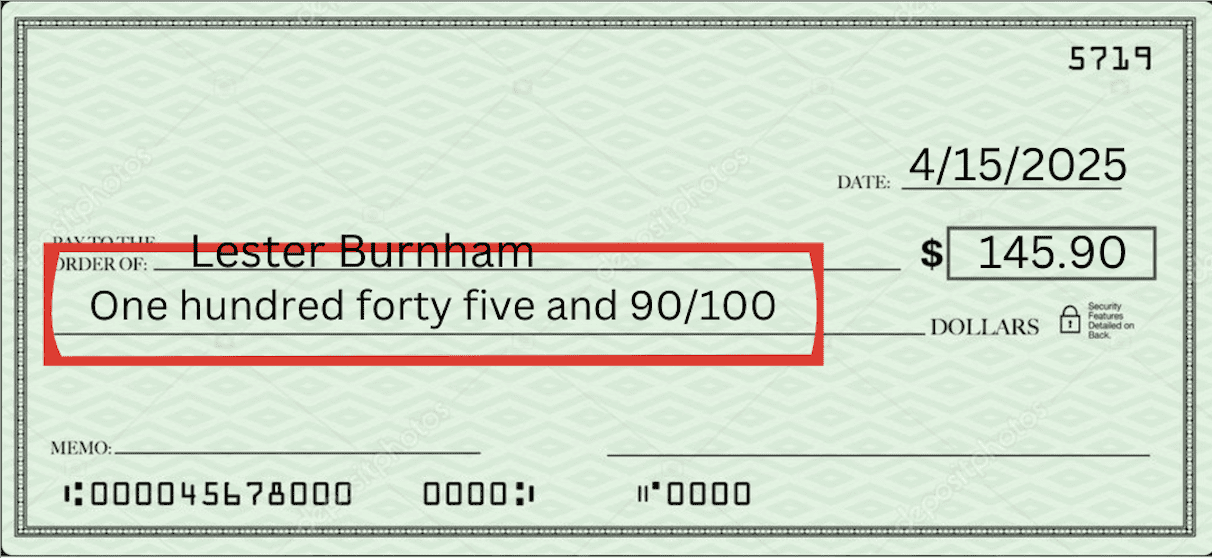
Similar to step 3, the next step is to write the amount of money the check is for, but this time we are writing it in words instead of numbers. Make sure the written amount matches the numerical amount you just completed, as this helps the bank confirm the total amount to be withdrawn/deposited. To properly write out the cents, put the number over 100 as written (90/100). If the dollar amount is rounded (i.e. no cents are included) write 00/100 for clarity. This part is completed in the line directly below the "pay to the order of" line with the company/person's name.
STEP 5: Get the Memo
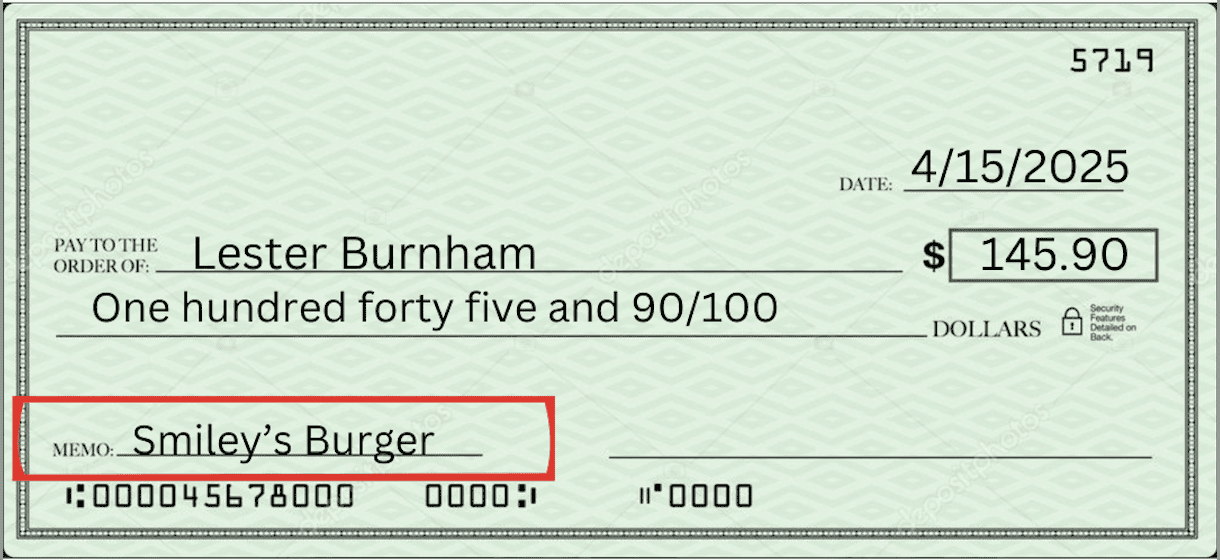
We're almost done with "how to write a check". I hope you're still with me and not running away crying into the arms of Venmo and Zelle. This part is optional, but encouraged. The 5th step in how to write a check is to complete the "memo" portion in the bottom left corner of the check. As I said, this part is optional but serves as a reminder for why you wrote the check. For example, you could write "electric bill" or "Lady Gaga tickets" or "cupcakes" to clarify the reason for writing the check. If you are writing a check to pay a bill, it is not uncommon that the company will ask you to write your account number in the memo line. That completes the penultimate step to how to write a check- now on to the exciting finale!
STEP 6: Sign the Check
Last but not least- the final step in writing a check. This one is easy- simply sign the check! You should sign the check with the same name and signature you used to open your bank account. This allows the bank to verify that you approve the amount on the check for withdrawal. Sign the check on the line in the bottom right line (to the right of the memo line you just completed). You have now written a check! Learning to write a check is a rite of passage to adulthood and is something every mature member of society should know how to do (which is exactly why I didn't learn how to write one until I was pushing 30). Now back to Venmo/civilization.
